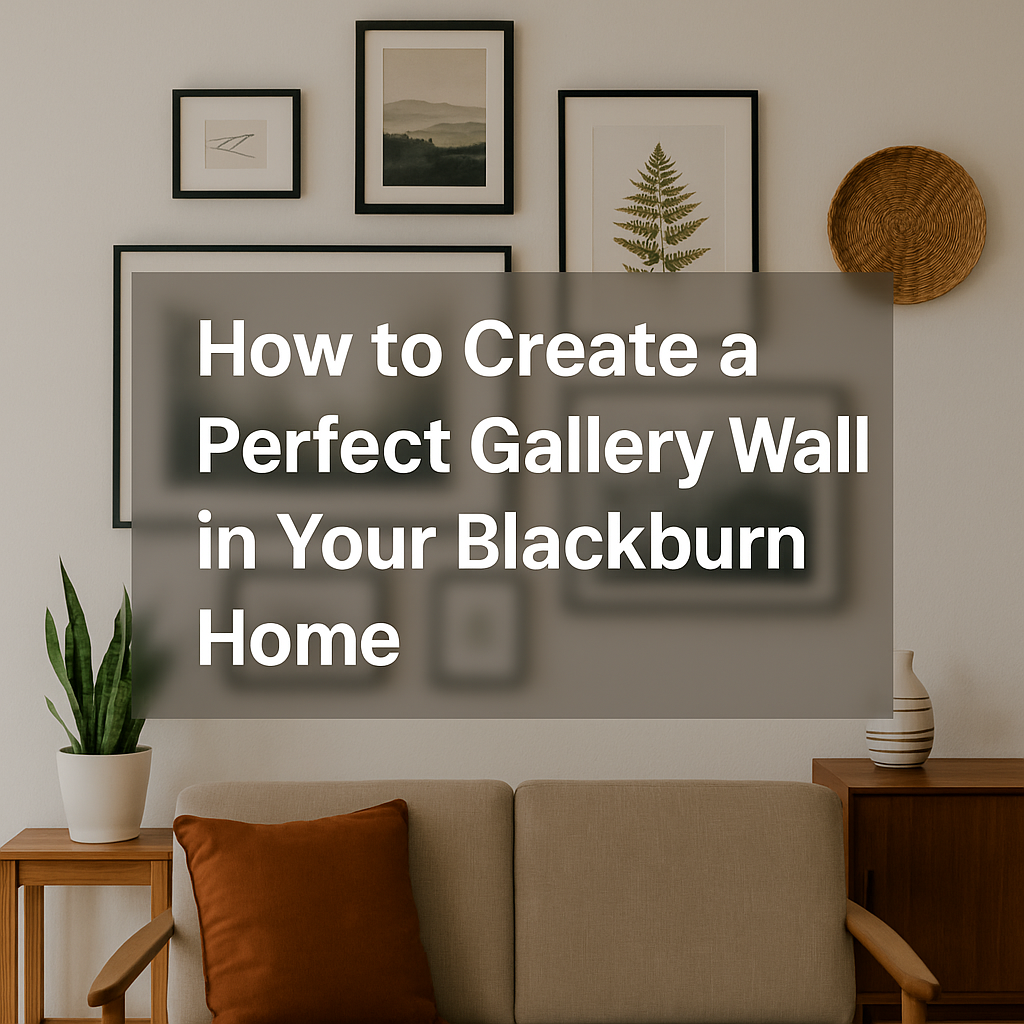
Gallery walls are one of the biggest home décor trends right now — and for good reason. A well-designed gallery wall can bring personality, colour, and style to your home. But while they look effortless once complete, creating one takes careful planning and precise installation.
Here’s my guide to building a gallery wall that looks amazing and stays secure on your walls.
Step 1: Plan Your Layout
Before drilling any holes, decide on your gallery wall’s layout. A few popular options include:
- Symmetrical grid – neat rows and columns for a clean, modern look.
- Eclectic mix – a mix of frame sizes arranged in an organic, balanced way.
- Centred focus – one large piece surrounded by smaller frames.
Tip: Lay your frames on the floor first to test arrangements before committing.
Step 2: Choose the Right Wall
Gallery walls work best on:
- Living room feature walls
- Hallways and staircases
- Behind sofas or beds
Avoid walls with lots of sockets, switches, or uneven plaster.
Step 3: Use the Correct Fixings
This is where DIY often goes wrong. Different wall types need different fixings:
- Brick or masonry walls – require wall plugs and screws.
- Plasterboard walls – need specialist anchors to hold the weight.
- Stud walls – best to locate studs for heavier items.
Using the wrong fixing can mean frames coming loose or walls getting damaged.
Step 4: Get Everything Level
Nothing ruins a gallery wall quicker than crooked frames. I use professional levels and measuring tools to make sure every frame is aligned properly.
Why Hire a Handyman for Gallery Walls?
While you can do it yourself, gallery walls often involve:
- Dozens of measurements
- Multiple drill holes
- Heavy mirrors or artwork mixed with frames
Hiring me means you’ll get:
A safe, secure installation
Perfect alignment
Less stress and no mess
Plan it on the floor first
The secret to a gallery wall that looks designed rather than random is to plan the layout before you drill a single hole. Lay the frames out on the floor and shuffle them until the arrangement works, or cut paper templates and tape them to the wall to test it at eye level. Keep the gaps between frames consistent — that even spacing is what makes the whole wall look deliberate.
Getting frames straight and evenly spaced
Once the layout is set, the hard part is execution: keeping every frame level, the gaps even, and using fixings suited to each frame’s weight so nothing sags or shifts. Measuring and marking carefully — rather than eyeballing it — is what separates a crisp gallery wall from a wonky one. If you would rather it went up right first time, it is a satisfying picture and mirror hanging job to hand over.
Gallery Wall Services in Blackburn
I’m Paul the Handyman, based in Blackburn. I’ve helped homeowners across the area (including Darwen, Accrington, and Clitheroe) create gallery walls they’re proud of.
Book Your Gallery Wall Installation
Need a hand with this in Blackburn? I offer picture and mirror hanging across Blackburn and the surrounding areas — get a free quote.